相比于各种虚拟机安装的安卓系统,子系统还是又些有点的,简洁没有广告,能够集成到win系统里。不过需要自己安装还是挺麻烦的,内存占用也挺大,8g内存可能跑不动。
1、开启虚拟化,进入bios开启Virtualization Support,不同电脑进入bios方法不同,可以自己先搜索一下。
开启 Hyper-V 和 虚拟机平台功能,控制面板——程序和功能——启用或关闭windows功能,勾选 Hyper-V、虚拟机监控程序平台、虚拟机平台,然后重启即可。
2、安装wsa,官方版:https://www.microsoft.com/en-us/p/windows-subsystem-for-android-with-amazon-appstore/9p3395vx91nr
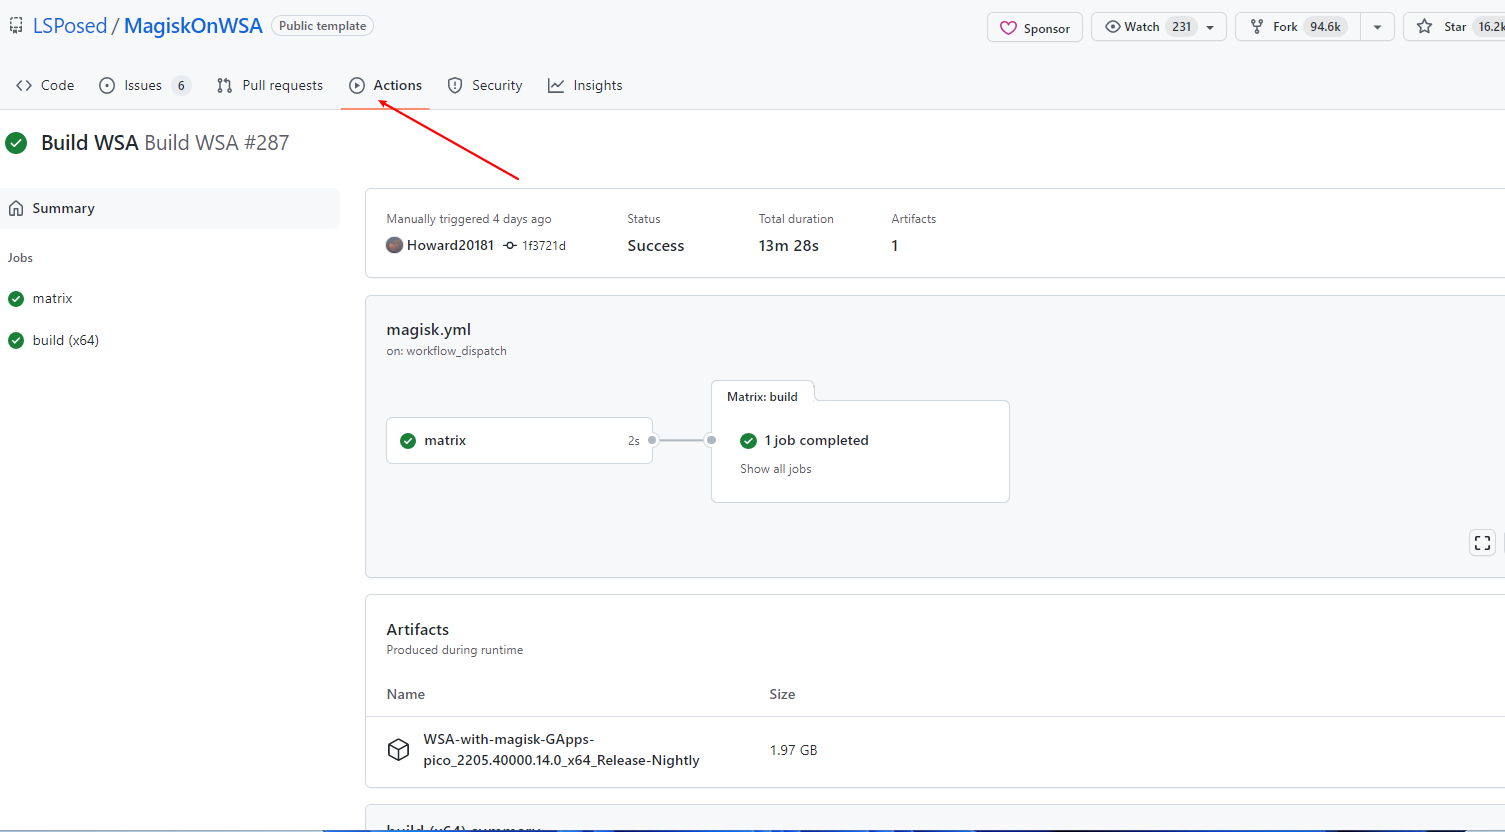
自带magisk和Gapps版本:https://github.com/LSPosed/MagiskOnWSA
到action下载已经编译好的,然后解压。

安装:用powershell运行Install.ps1脚本即可完成安装。
3、adb连接,搜索android,打开适用于Android的Windows的子系统设置,然后打开开发者人员,即可adb连接。
adb安装:https://bbs.zsxwz.com/thread-1662.htm
打开cmd:
#adb连接
adb connect 127.0.0.1:58526

#查看是否连接成功
adb devices
4、安装,卸载应用等等,可以通过谷歌商店安装,也可以通过adb安装,app可以自己到apkmirrors,apkpure等等下载。
adb常用的命令:https://zsxwz.com/2021/01/31
adb install xxx.apk
通知提示VirtWifi的连接受限的解决方法,和手机安装一些国外类原生系统差不多,没有设置captive_portal,导致wifi上就算有联网也有一个叹号,解决方法也是一样的:https://bbs.zsxwz.com/thread-3753.htm
adb shell settings put global captive_portal_mode 0
adb shell settings put global captive_portal_http_url http://www.qualcomm.cn/generate_204
adb shell settings put global captive_portal_https_url https://www.qualcomm.cn/generate_204
设置代理,打开cmd:
ipconfig
#查看以太网适配器 vEthernet (WSL)的ipv4地址

adb shell settings put global http_proxy 192.168.32.1:8080
#8080是我win系统设置的http代理的端口,改成你自己的即可。

adb connect 127.0.0.1:58526 && adb shell "settings put global http_proxy `ip route list match 0 table all scope global | cut -F3`:port"
#一步到位,设置代理

adb shell settings put global http_proxy :0
#取消代理
wsa是系统共享文件,确实没有什么好方法,可以用adb push、adb pull来传输文件。
或者win共享文件夹,安卓安装一个支持smb的文件管理器,如es文件管理器,re管理器等等,然后连接smb。

