老司机磁力下载cloud torrent配置

磁力链接下载,115太贵,百度网盘基本上没什么用了,迅雷,qtorrent等下载工具也是经常没有下载速度。最后我选择用cloud torrent下载磁力链接。
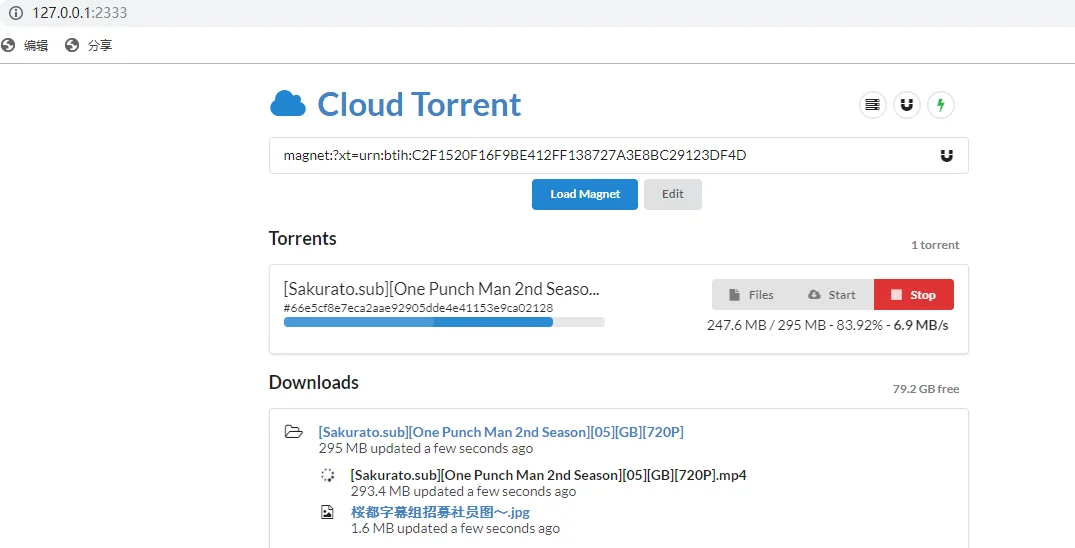
1、windows配置:

下载对应版本:
https://github.com/jpillora/cloud-torrent/releases
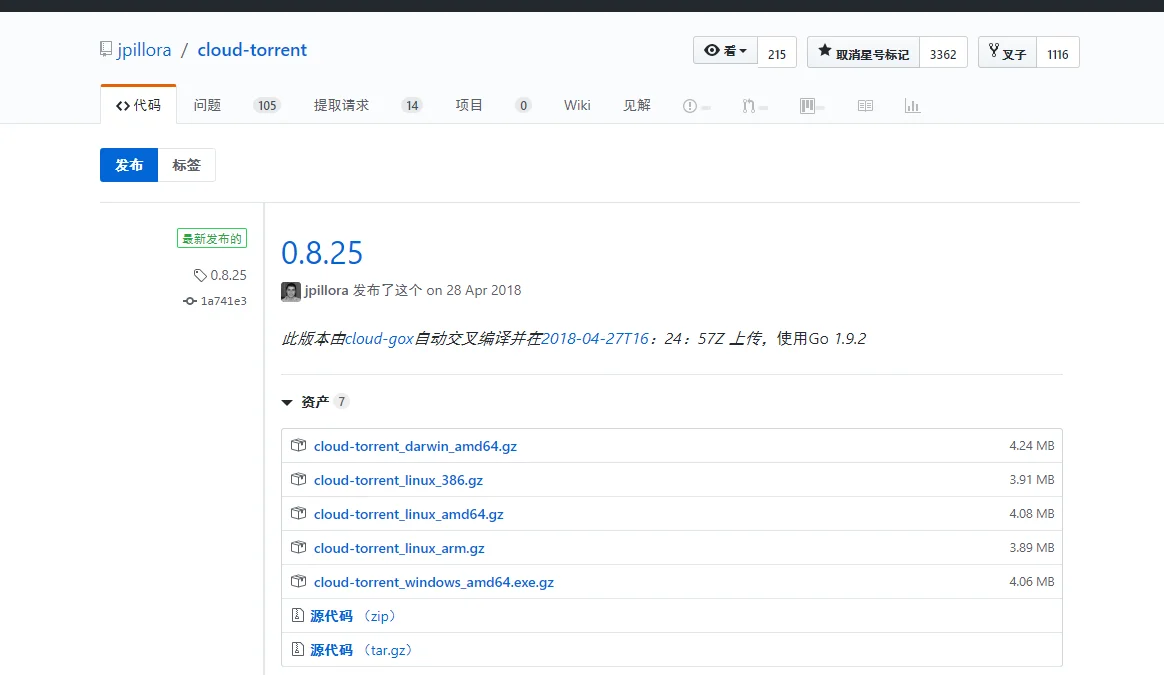
把exe文件重命名为cloud-torrent.exe,

新建文件run.bat,用记事本或者notepad++编辑。

Plain text
Copy to clipboard
Open code in new window
EnlighterJS 3 Syntax Highlighter
cloud-torrent.exe -h "127.0.0.1" -p 2333 -l
pause>nul
cloud-torrent.exe -h "127.0.0.1" -p 2333 -l pause>nul
cloud-torrent.exe -h "127.0.0.1" -p 2333 -l
pause>nul

-h “127.0.0.1” 指的是 监听本地网卡地址

-p 2333 指的是 本地监听端口,可以自行修改。

我把配置文件打包了,如果需要更新,自行配置即可。https://www.lanzous.com/i43d0ej

点击run.bat,即可运行,运行过程中,不要关闭,浏览器打开,127.0.0.1:2333,即可下载。

2、自己电脑上搭建,有很多磁力还是没有办法下载。还是推荐在vps上下载。

官方搭建脚本:

Plain text
Copy to clipboard
Open code in new window
EnlighterJS 3 Syntax Highlighter
curl https://i.jpillora.com/cloud-torrent! | bash
cd /usr/local/bin
cloud-torrent -p 1024 -l -c /etc/cloudtorrent/cloud-torrent.json >> /var/log/cloud-torrent.log 2>&1 &
curl https://i.jpillora.com/cloud-torrent! | bash cd /usr/local/bin cloud-torrent -p 1024 -l -c /etc/cloudtorrent/cloud-torrent.json >> /var/log/cloud-torrent.log 2>&1 &
curl https://i.jpillora.com/cloud-torrent! | bash

cd /usr/local/bin

cloud-torrent -p 1024 -l -c /etc/cloudtorrent/cloud-torrent.json >> /var/log/cloud-torrent.log 2>&1 &

端口可以自行更改,浏览器打开:http://vps的IP地址:1024,即可打开cloud torrent。可以下载大部分不可描述资源。配置如下图即可。
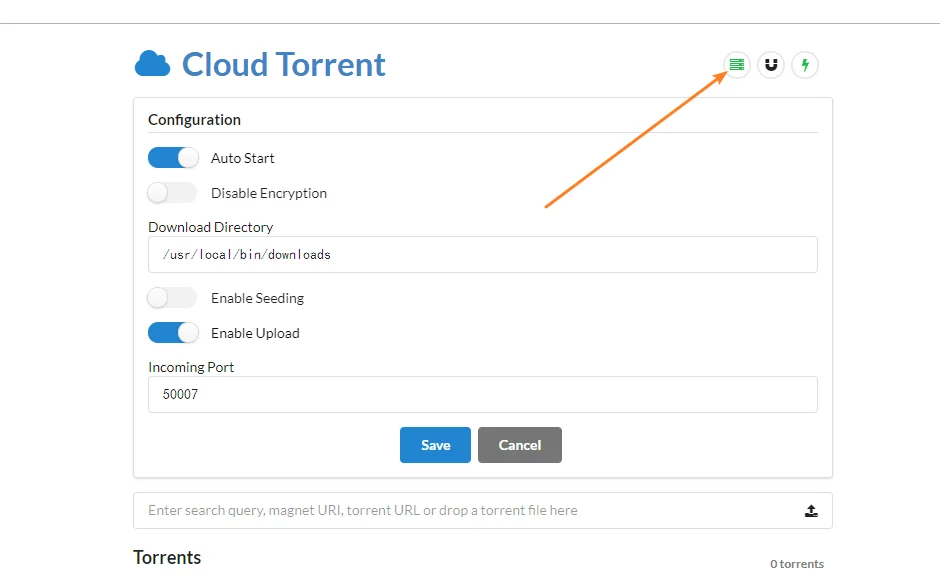
下载文件在文件夹,/root/downloads,如果页面无法删除文件,自己手动删除即可。

Plain text
Copy to clipboard
Open code in new window
EnlighterJS 3 Syntax Highlighter
//进入文件夹
cd /root/downloads
//查看文件
ls
//删除文件,或者文件夹,如删除123456文件夹
rm -rf 1*
//进入文件夹 cd /root/downloads //查看文件 ls //删除文件,或者文件夹,如删除123456文件夹 rm -rf 1*
//进入文件夹
cd /root/downloads
//查看文件
ls
//删除文件,或者文件夹,如删除123456文件夹
rm -rf 1*

留言

取消回复
0 out of 65525
* - 必填